how to make an ai video from photos
How to Make an AI Video From Photos: A Complete Walkthrough
From two photos to a finished clip, step by step.
Reviewed against the live product on 2026-10-05. The generator offers 480p or 720p, one photo per performer, and a template-set length.
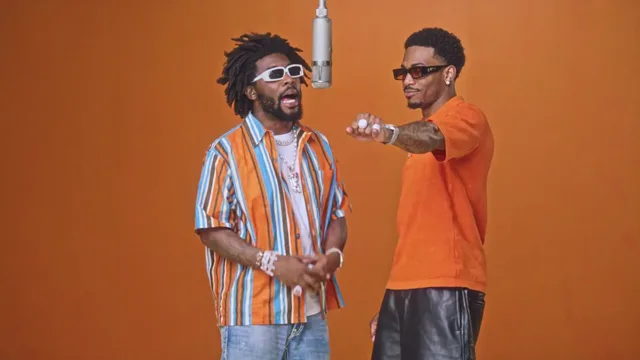
Making an AI video from photos is a short process, but a few choices early on decide how good the result looks. This walkthrough covers the whole path: what to prepare, how to choose images, how to upload and assign performers, how to pick a template, how to generate, and how to get the finished file.
It is written for someone doing this for the first time. There is no prompt to write, no timeline to edit, and no software to install — the generator runs in the browser and the output is a standard video file. The main skill involved is choosing the right photos.
Read it end to end once, or jump to the step you are on. Either way, the goal is the same: a clip you are happy to keep, produced without any of the usual video production overhead.
Make your video here
Choose one photo per performer, preview them and swap positions. Generation requires sign-in and uses your account credits. Use photos you have permission to upload.
Choose your performers
Clear front-facing photos work best — one person per image, no covered faces.
Two people performing a short studio duet, recast with your two photos.
Each generation uses credits from your balance.
Sign in to generate videos.
Signing in keeps selected photos in this browser for your return. The draft expires after 20 minutes and is removed on return or the next visit after expiry.
Template preview — your two photos replace these performers.
Preview and change the motion template
Classic Duo
Two people performing a short studio duet, recast with your two photos.
High Energy Duo
A faster, more upbeat two-person studio performance.
Soft Groove Duo
A slower, relaxed two-person studio groove.
Still to Motion
A still portrait brought into gentle motion.
Minimal Motion
Subtle movement with a minimal set and camera.
Kangaroo Boxer
A single boxing-kangaroo motion source from your provided material.
Duo Conversation
Two performers facing each other in a dialogue scene.
Cinematic Duo
A wider, more cinematic two-person framing.
Tools used in this guide
What you need before you start
The list is short. You need two photos — one per performer — a moment to pick a template, and a little patience while the render runs. That is the entire setup. There is no camera, no microphone, and no editing application involved.
The photos are the part worth preparing. JPG, PNG, and WebP files are accepted, up to 10 MB each. Within those formats, the quality of the image matters far more than the format itself: a clean, well-lit portrait will outperform a large but blurry one every time.
It also helps to know what you want before you upload. Deciding whether you want a lively clip or a calm one makes template selection quick, and it saves you from generating a result that works technically but misses the mood you had in mind.
- Two photos, one for each performer.
- JPG, PNG, or WebP, up to 10 MB per image.
- A rough idea of the mood you want, calm or energetic.
- A few minutes for the generation to complete.
Step 1: choose the right photos
Start with subject clarity. Each photo should have one obvious person in it, positioned so the face is easy to read. A portrait taken straight on, or close to it, gives the model the cleanest view of the face. Strong angles and profiles give it less to work with.
Then check the light. Soft, even lighting across the face transfers best. Harsh shadows, backlighting, or a strong colour cast all create conditions the model has to compensate for, and those compensations can make the final clip look less like the original person.
Finally, check what is covering the face. Sunglasses, masks, or a hand in front of the face will reduce how much detail the model can carry into the scene. A hat is usually fine as long as the face remains fully visible. If you have a choice between two photos, pick the one with less obstruction.
Step 2: upload and assign the performers
Open the generator at the #generator anchor on the home page. You will see two photo slots. Upload one image into each: the left slot takes one performer, the right slot takes the other. The tool treats them as two separate identities and keeps them distinct throughout the scene.
If the order matters to you — for example, if one person should appear on a particular side — check the arrangement before you continue. Use Swap to exchange the two slots, which flips which photo fills which performer role. Getting this right before generating is much easier than fixing it afterwards, because changing the order means a fresh run.
If you only have one usable photo, that is fine — but choose a single-performer template instead of a duet one. Uploading one photo into a scene staged for two people will not produce a pair.
Step 3: pick a preset template
The template is your creative choice, and it determines the scene, the movement, and the length of the clip. Eight presets are available, and they range from energetic two-person performances to gentle single-portrait motion.
Match the template to the mood of your photos. Bright, playful images suit High Energy Duo. Calmer portraits pair well with Soft Groove Duo or Minimal Motion. If you want a more composed, film-like framing, Cinematic Duo widens the shot, while Duo Conversation places the two performers facing each other.
If you are uncertain, Classic Duo is a sound default for a pair of portraits, and Still to Motion is the restrained option if you want subtle movement rather than a full performance.
- Classic Duo — balanced two-person studio duet, a safe default.
- High Energy Duo — fast and upbeat, for lively photos.
- Soft Groove Duo — slower and relaxed, for calm photos.
- Still to Motion and Minimal Motion — subtle, restrained movement.
- Kangaroo Boxer — single performer, for when you have one photo.
- Duo Conversation and Cinematic Duo — composed, film-like two-person framing.
Step 4: choose a resolution and generate
Two resolutions are available: 480p and 720p. 480p generates faster and produces a lighter file, which makes it ideal for testing. 720p takes longer and yields a sharper result, which is worth it for the version you intend to keep.
A practical routine is to run your first attempt at 480p. If you are comparing templates, this lets you see your own faces in each scene quickly and decide which fits. Once you have a favorite, re-run it at 720p for the final file.
There is no separate duration setting — the template fixes the length. Once you start the generation, the status indicator tracks progress. Video generation is heavier than image generation, so give it time rather than reloading the page mid-run.
Step 5: preview and download
When the render finishes, preview the clip in the page. This is the moment to check the two things that matter most: whether each performer resembles the source photo, and whether the overall mood matches what you wanted.
If the likeness is off, the photo is usually the cause. Replace the weaker upload with a clearer, more front-facing image and generate again. If the mood is off, try a different template instead — the same faces will read very differently in a fast scene than in a slow one.
When you are satisfied, download the MP4. It is a standard video file, so it plays in any normal video app and can be shared or edited with the tools you already use.
Troubleshooting checklist
Most disappointing results trace back to one of a few causes, and each has a straightforward fix.
- The person looks less like the photo: use a clearer, front-facing portrait with even lighting.
- One performer looks out of place: match the lighting and framing of the two uploads more closely.
- The clip feels too still: switch to a higher-energy template such as High Energy Duo.
- The clip feels too busy: switch to Soft Groove Duo, Minimal Motion, or Still to Motion.
- Only one person appears: you uploaded one photo into a two-person template — add the second photo.
- The performers are on the wrong sides: use Swap before generating, then re-run.
Getting better results over time
The single biggest improvement comes from your photo library. Keeping a few good, front-facing portraits of the people you generate most often means you always have a strong input on hand, rather than hunting for one under time pressure.
The second is familiarity with the templates. Once you have seen how your own photos behave in a fast scene versus a slow one, you will be able to predict which template suits a given pair without testing. That instinct develops quickly, because the scenes are stable and repeatable.
The third is patience. Generation takes longer than editing a photo, and a failed or cancelled run returns its credits to your account automatically, so there is no penalty for simply trying again. Treat the first attempt as a draft and the process stays relaxed.
Frequently asked questions
How many photos do I need to make an AI video?
Two for a duet template, one photo per performer. A single-photo template such as Kangaroo Boxer works with one image.
Is a text prompt required?
No. You choose a preset template instead, and the template defines the scene, the movement, and the clip length.
What photo formats and sizes are supported?
JPG, PNG, and WebP up to 10 MB each.
How long does generation take?
Generation takes a few minutes and the page tracks its status. 480p runs finish faster than 720p, so you can test quickly before committing to a higher resolution.
What do I get at the end?
A downloadable MP4 video file that plays in any standard video app.
What if the result does not look like the photos?
Replace the weaker photo with a clearer, front-facing portrait that has even lighting, then regenerate. Photo quality is the main factor in how closely the clip resembles the original.
Pick the moment
Each use case opens the same real generator with a template chosen for that occasion.
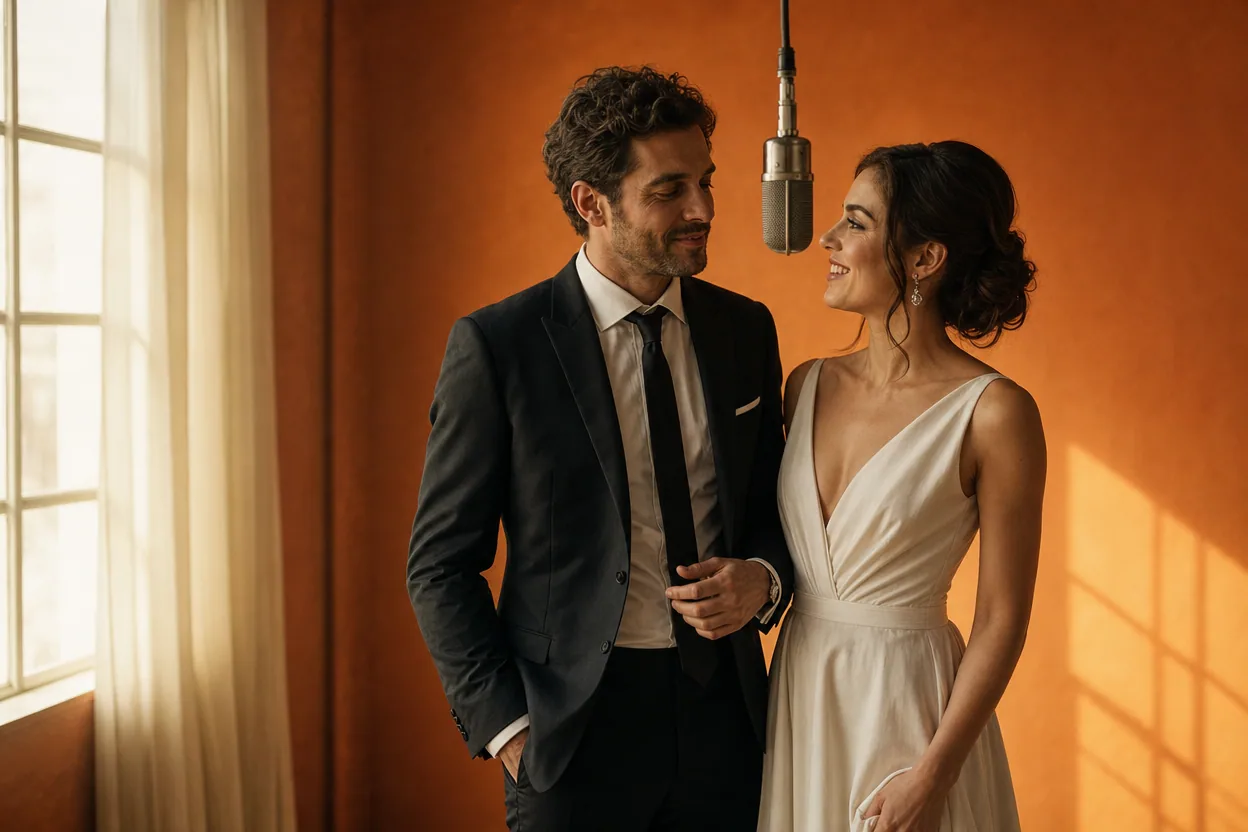
Wedding and couple keepsakes
Wedding Photo to Video
A wedding photo to video gives two formal portraits a shared moment of movement. You upload one photo of each person, choose a cinematic template, and the two faces are placed into the same short performance.
Open this use case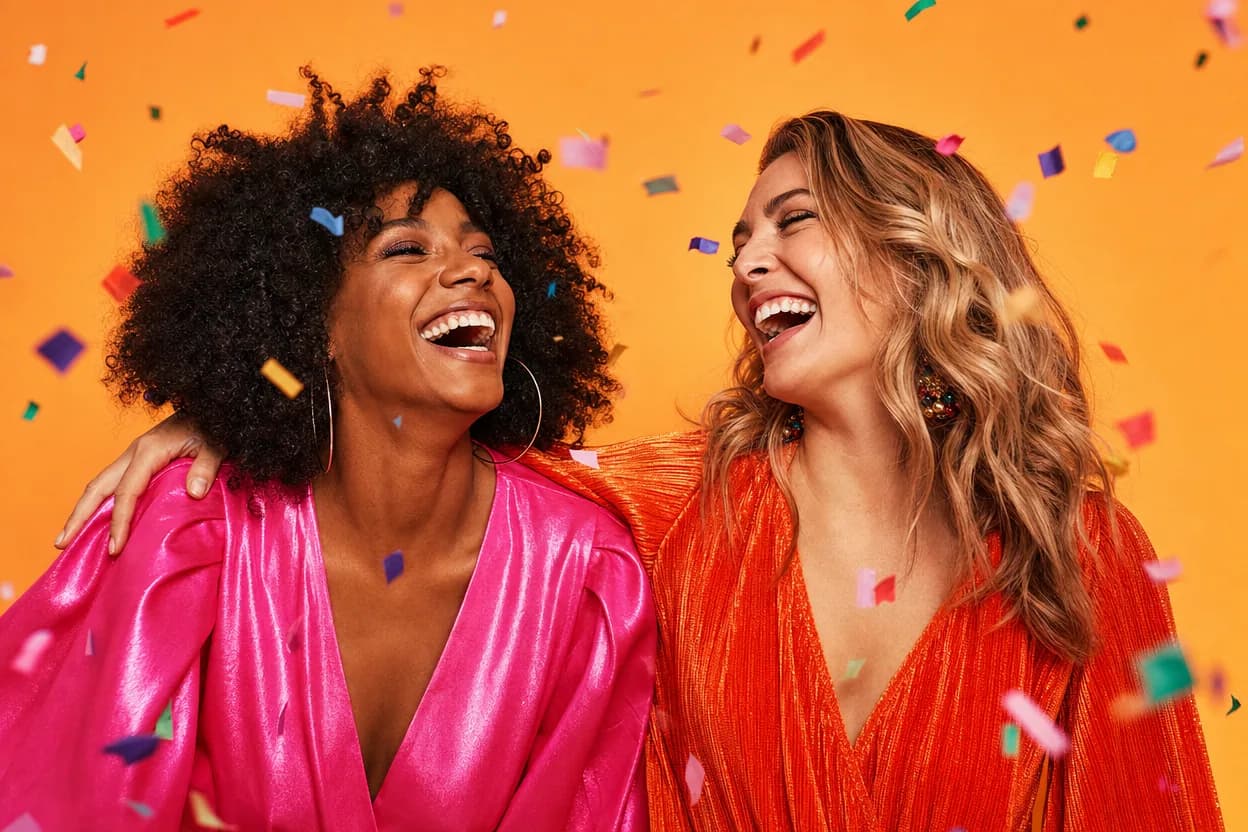
Birthday greetings
Birthday Photo to Video
A birthday photo to video lets two people share one short, upbeat clip without filming together. It works for a joint greeting, a long-distance message, or a playful post for someone who is hard to gather in one room.
Open this use case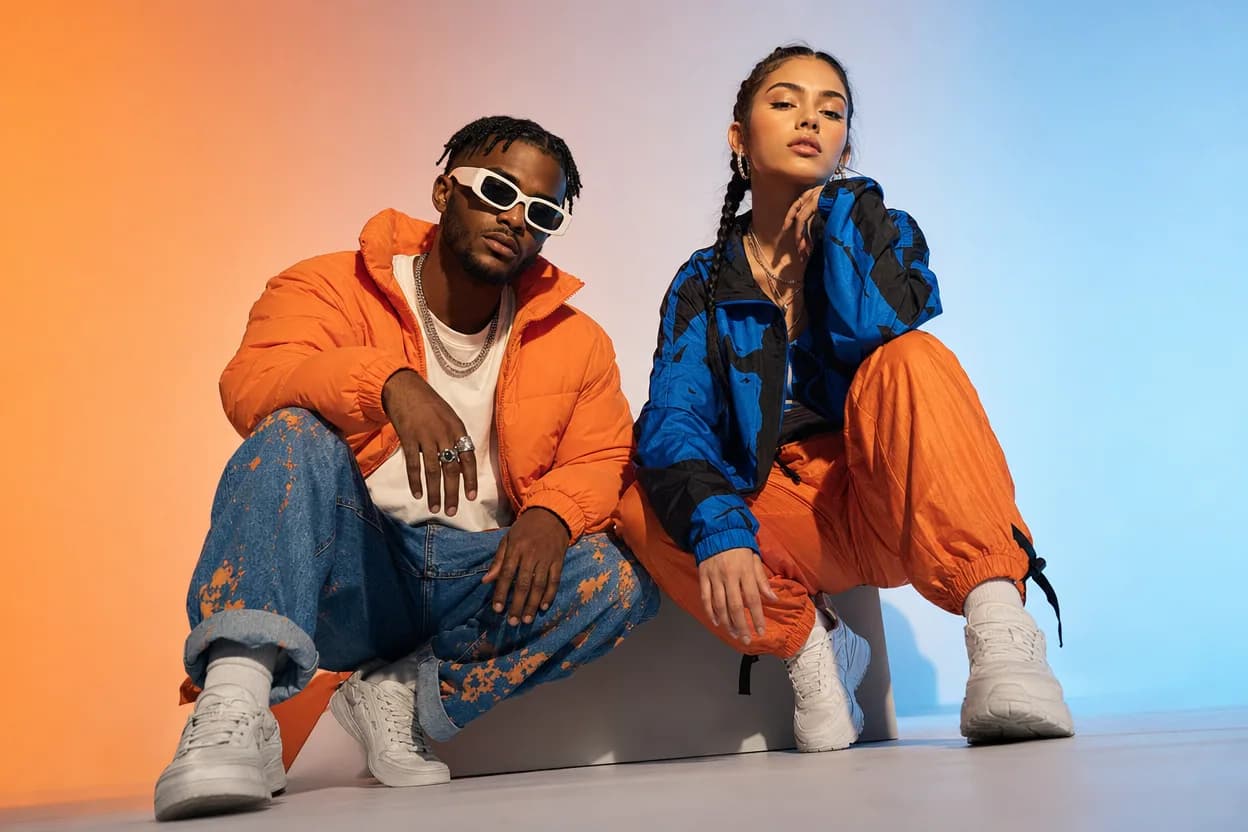
Social clips
Social Media Duo Video
A social media duo video is a short, shareable clip built from two portraits. It gives a post a moving visual without a shoot, a script, or a shared filming session.
Open this use caseRelated reading
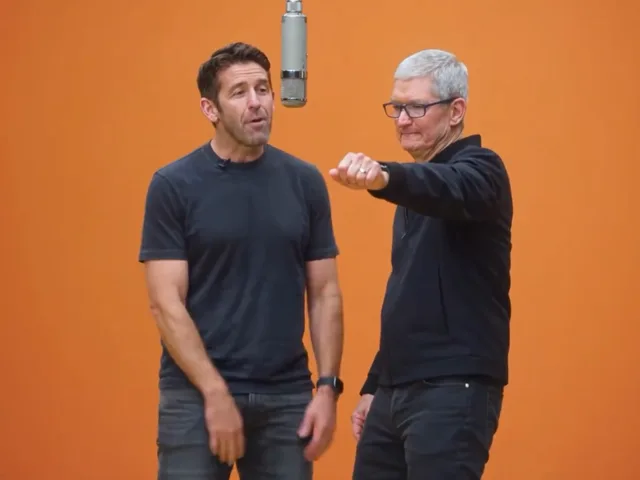 best ai video generator from photos
Best AI Video Generator From Photos: How to Judge One
The best AI video generator from photos is the one that matches your job. Use this checklist to tell a real two-photo pipeline from a single-image animation.
 photo to video ai
Photo to Video AI: How Still Images Become Moving Clips
Photo to video AI is a broad category with two very different engines inside. Learn how each one works and how to pick the right job for your image.
hotel lobby ai video generatorHotel Lobby AI Video Generator: Turn Two Photos Into a Duo Video
Learn what a hotel lobby AI video generator does, why two photos are enough, and how preset motion templates turn portraits into a finished duo clip.